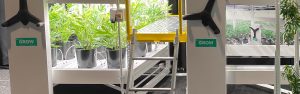
Designed to improve safety, efficiency, and access for cultivators servicing second-tier or higher plants systems, Spacesaver’s GROW Crosswalk provides users with a raised working station that securely integrates with new and existing GROW uprights and can be utilized during all stages of indoor cultivation.
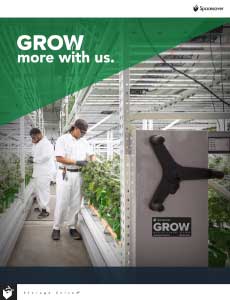
Save Space & Maximize Yields
See how our mobile vertical racking systems integrate with your cannabis operation to save space, reduce energy use, and increase yields.
Comprised of an aluminum plank nestled into cross supports and supported by front and rear safety barriers, grab handles, and an adjustable pitch access ladder, the Crosswalk’s locking clevis pin connection allows users to install and relocate their systems quickly and easily. Let’s take a look at each component of the system and how they are safely and securely installed.
Step 1: Set Height
The GROW Crosswalk’s support braces are designed to attach in along its GROW uprights, creating a safer and more effective workstation for users. Once the correct height is determined, support braces are secured to the upright with locking clevis pins.
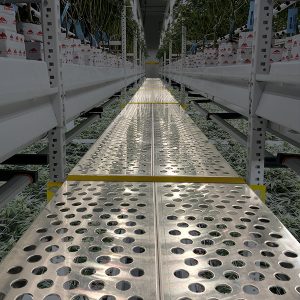
Step 2: Add Walking Planks
Once all support braces are secured in place, the Crosswalk’s aluminum planks can be set into place. To ensure ease of installation and a work surface that is flush with the support braces, it is recommended that two individuals perform this step.
Step 3: Attach the Ladder
Designed to create the ideal angle for achieving access to the plank, the Crosswalk’s ladder hooks can be adjusted and secured with the insertion and removal of a small clevis pin. Once the ideal slope is established, a quick release pin is inserted to maintain its integrity and the safety of those climbing aboard.
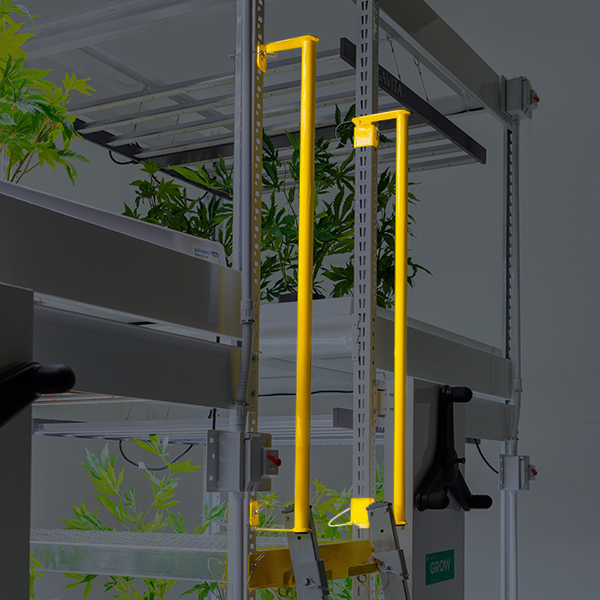
Step 4: Add Support Handels
In order to maintain three points of contact and adhere to OSHA safety requirements within your respective space, the Crosswalk’s grab handles can be easily and securely attached to GROW uprights. Held in place by clevis pins connected from the outside, these handles give users a reliable grip when transitioning from ladder to plank.
Next-Level Operational Capability
Straight from the source, a closer look at the GROW Crosswalk and just how easy it is to install. Reach out to your local MOTUS consultant to learn how to attain this innovative solution and bring your operation to new heights.
What's Next

Library Design That Reflects the Environment and Needs of the Community
An Innovative Control System Option From MOTUS Space Solutions

1 thought on “Installing The Crosswalk: A How-To Guide”
Comments are closed.